One of the things that can make your Alexa device such a convenient assistant is its ability to take voice commands. Your Alexa device comes with voice recognition technology that identifies your voice from others by training itself to make sure it only listens to you and does not respond to every random person. You can perform this process by going into your device’s settings.
However, there may be a time when you want your Alexa device to stop recognizing your voice. The reason for this could be anything from you wiping your device or simply giving it up to some other user in your home or workplace. Regardless of the reason, you should know how to remove your Alexa’s voice and we are going to teach you how to delete a voice profile on Alexa.
In General, if you want to remove all the recordings and voice history that Alexa has saved over time, you can do so either by asking Alexa directly or through the app. Each method has different steps that you need to follow, as explained below.
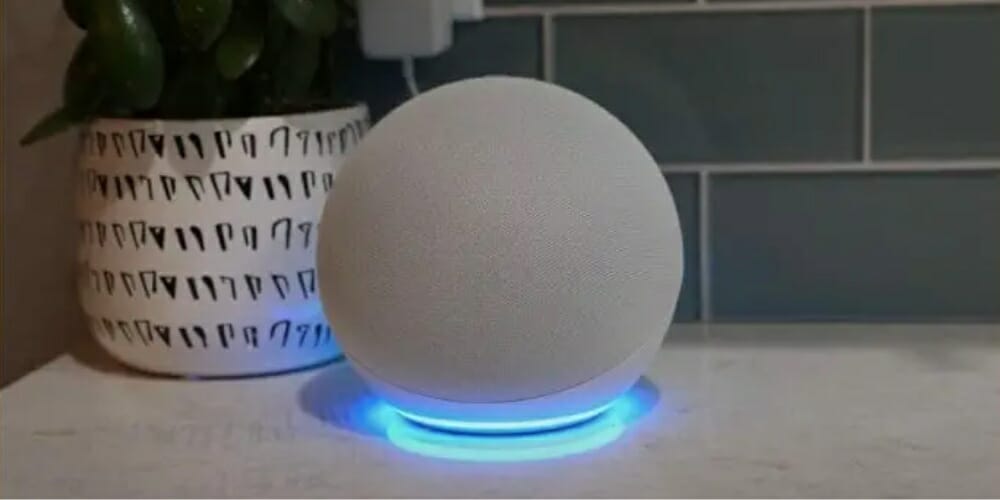
Deleting Your Alexa Voice Profile on Echo Devices
Now that you have decided to remove your Alexa voice profile from your Echo device, you need to open your Alexa app. Here, you will go to your Alexa account Settings menu where you will find the “Your Profile and Family” option. Keep in mind that your Echo device can save multiple Alexa voice profiles and you can customize the name for each Alexa’s voice that it recognizes.
In the list that opens when you tap on the Your Profile and Family menu, you will:
1. Find an option called “Your Profile”.
2. When you select that option, you will see a new menu open and when you scroll down on that, you will find the “Voice ID” option.
3. Tapping on this option will give you another menu where you will find the “Delete Voice ID” option. This should remove your voice recognition data from the Alexa device.
Alexa Profile Settings
Amazon Echo devices work using Alexa voice recognition which means each voice it recognizes needs to be saved first. Doing this is possible in the Alexa Profile settings menu. This menu holds all the information that the device needs to personalize the experiences of each member of your household or team. Accessing this area requires an Amazon account and you can either use the Amazon account you already have or even create a new one just for your Echo device.
The Amazon account creation process is quite easy, and you can start accessing your Echo device in no time. Being an adult is mandatory to use these settings. However, you can also use your Amazon account to set up profiles for your children.
These settings are also where you find the Voice ID option and create a voice ID easily. For kids, the app provides a separate section which you can find under Settings > Amazon Kids.
Deleting Your Recordings and Voice History from Your Alexa Device
Amazon Alexa is a smart assistant that does its job by listening to and analyzing everything you say in its presence. Amazon claims that its Alexa devices save your history and voice recordings to help “improve the accuracy of your interactions with Alexa.” Of course, while there is the functional value behind that, it is also something that can concern many people. (1)
You can use different commands to delete data for different time periods. The three commands that work include the following:
- “Alexa, delete what I just said”
- “Alexa, delete everything I said today.”
- “Alexa, delete everything I’ve ever said.”
Depending on the option you choose, Alexa will perform the task for you automatically.
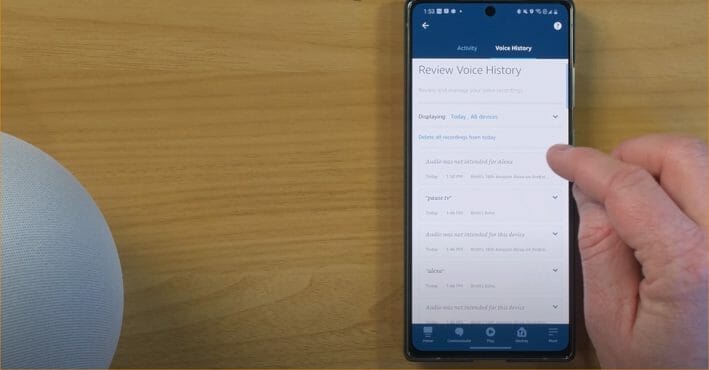
As for the app, you can delete your history by opening the Alexa app, tapping on the “More” option on the bottom right of the screen, and selecting the Settings option. In the menu that opens, select the “Alexa Privacy” option and you will see several options to choose from. Here, you will select the “Review Voice History” option and choose the appropriate option in the “Filter by date:” tab on top.
The app gives you the option to delete data for today, yesterday, last 7 days, last 30 days, All History, and Custom. For a complete wipe, you will need to select “All History” and then tap on the blue “Delete all of my recordings” text. You can also review individual recordings in your history and delete specific items.
Stop Alexa from Listening to Your Voice in the Future
If you want to do this temporarily and do not want to remove voice history, then the easiest thing is to mute the microphone option on Alexa. However, if you want Alexa to stop taking recordings of what you said, then you can do so by:
- Going into the Alexa Privacy menu again and
- Select the Manage Your Alexa Data menu.
- Here, you will select the “Choose how long to save recordings” option and
- In the popup that appears, select the “Don’t save recordings” option
- Select “Confirm” on the next popup that appears. (2)
Before we end this, you might check other Alexa learning guides below. Until our next article!
- How to connect Alexa to hotspot
- How to change Alexa location
- How to change Alexa voice to Morgan Freeman
References
(1) smart assistant – https://www.ibm.com/docs/SSMPHH_11.1.0/
com.ibm.guardium.doc/monitor/compliance_monitoring.html
(2) popup – https://www.webopedia.com/definitions/pop-up-window/