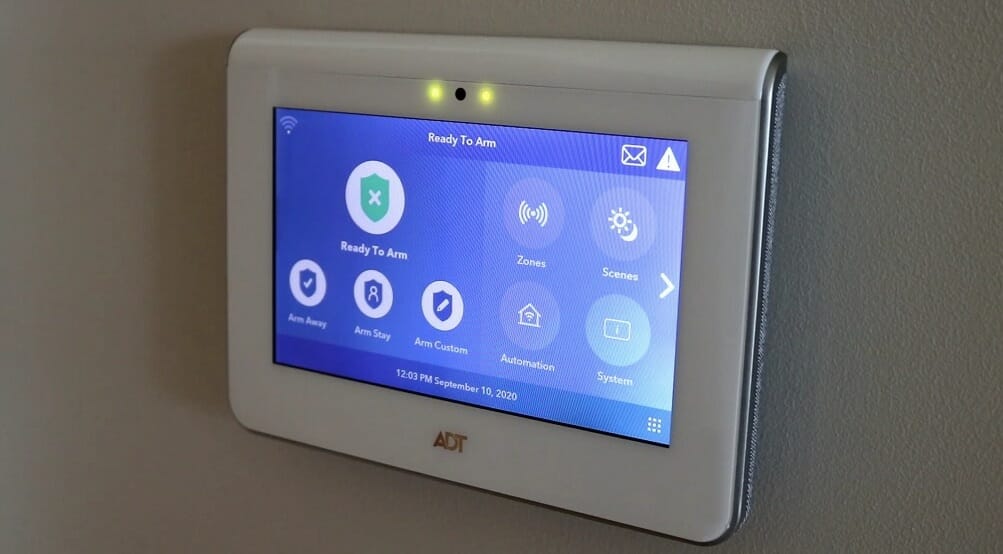
Ever had to deal with removing an ADT panel from your wall, and you’re wondering how to get the job done without causing damage? The process can seem daunting; it’s easier than you think!
The process involves disabling the panel, detaching it from the wall, disconnecting the wires, and patching it afterward. Whether you’re looking to replace your current system or need to perform maintenance, the process requires precision to avoid any damage and understanding of the system to prevent any unexpected alarms.
I’ll walk you through simple steps to keep things easy, even if you’re not the most tech-savvy person. So, buckle up and get ready to learn everything you need to remove that ADT panel like a pro!
Safety Precautions Before Removing the ADT Panel
Disconnect the Power Source
Before I dive into removing the ADT panel, I first ensure the power is completely disconnected.
I locate the circuit breaker and switch off the power supply to the panel and other connected devices.
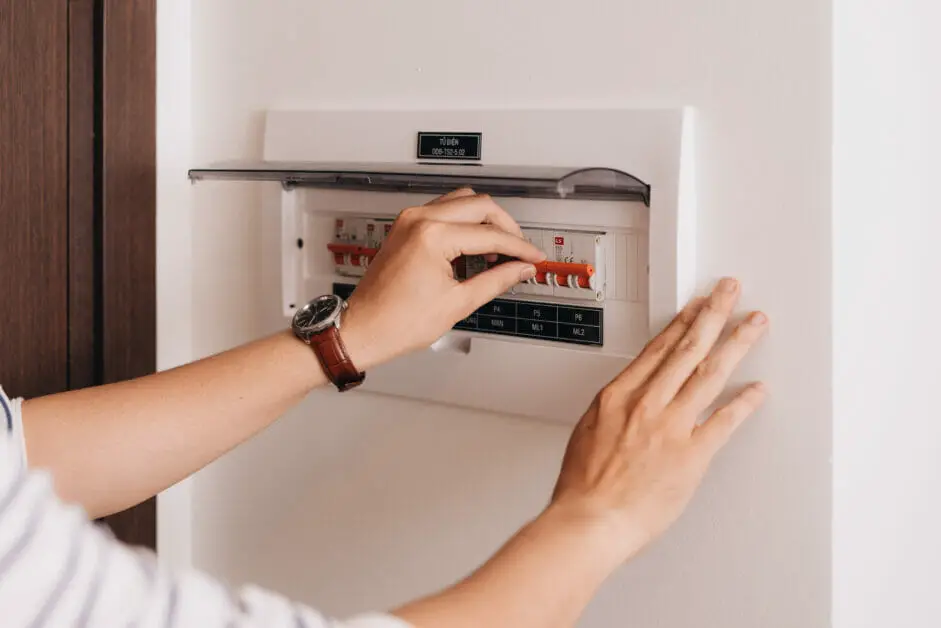
Disconnecting the power greatly reduces the risk of electric shock or short circuits when working with the panel.
Inform the Monitoring Service
When it comes to a security system like ADT, notifying the monitoring service is crucial. I call them and let them know that I plan to remove the panel.

They might provide additional guidance or assistance, but most importantly, they know not to respond to false alarms during removal.
Ensure Safety While Working with Electronic Components
As I work on removing the ADT panel, I consider the importance of staying safe around electronic components. I wear rubber gloves and use insulated tools to minimize the potential for shocks.
Additionally, I expect some wires to hold a charge even after switching off the power, so I handle everything with extreme care.
Required Tools for Removing the ADT Panel
Screwdrivers
In my experience, the first tool you’ll need is a trusty screwdriver. Both flathead and Phillips head screwdrivers can be useful when removing an ADT panel.
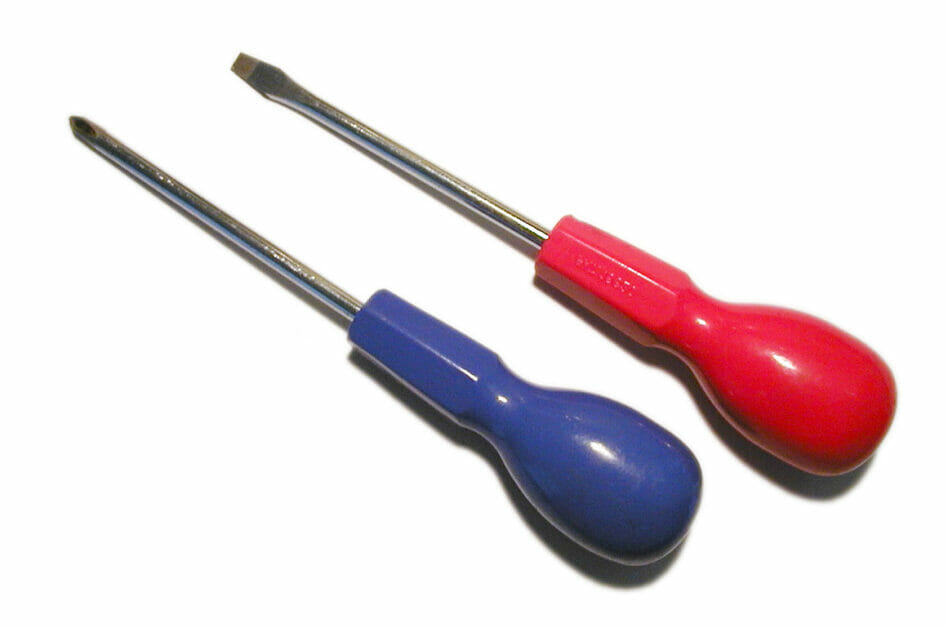
For example, I needed a Phillips head screwdriver to remove the screws from the mounting bracket, while I used a flat-head screwdriver to pry off the front cover carefully.
Cable or Wire Cutters
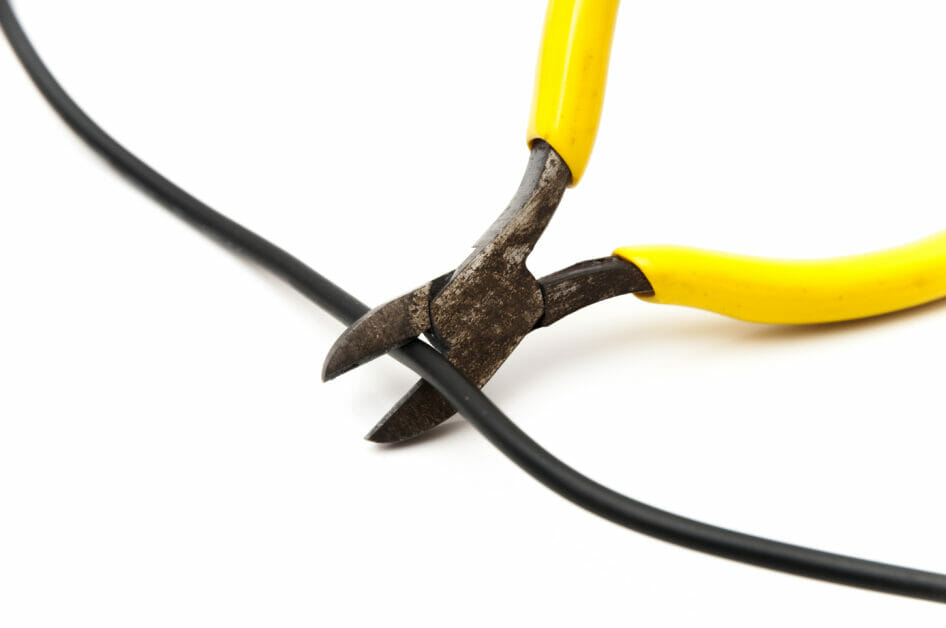
When removing an ADT panel, you’ll need to disconnect the power and battery cables. So, having some cable or wire cutters will make your job significantly easier.
Other Miscellaneous Tools
I found a putty knife to come in handy for removing the back cover without causing any damage. In addition to the putty knife, I used a drill and level to ensure my panel was reinstalled perfectly.
Removing the ADT Panel in Four Steps
Step 1. Removing the Panel Cover
The first step is to remove the panel cover. Typically, just one screw at the bottom of the keypad must be removed using a screwdriver.
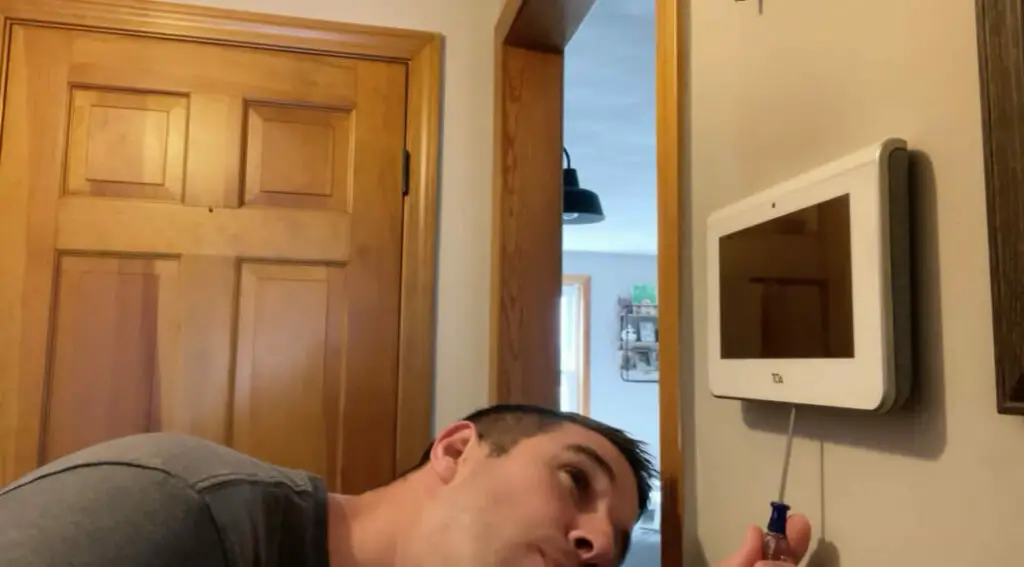
After that, I removed the front cover to reveal the panel’s inner workings.
Step 2. Disconnecting Panel Wires
Next, it was time to disconnect the panel wires. In my case, I had to unplug the power cable connecting the panel to the battery.
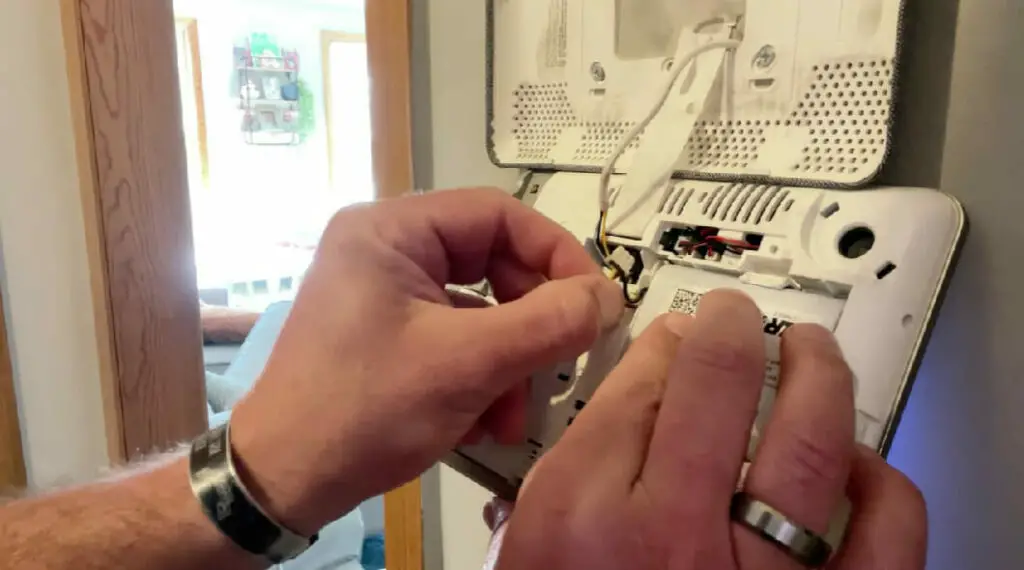
I can’t stress this enough – always remember to put your ADT alarm system into Test Mode before disconnecting any wires! This prevents false alarms during the removal process.
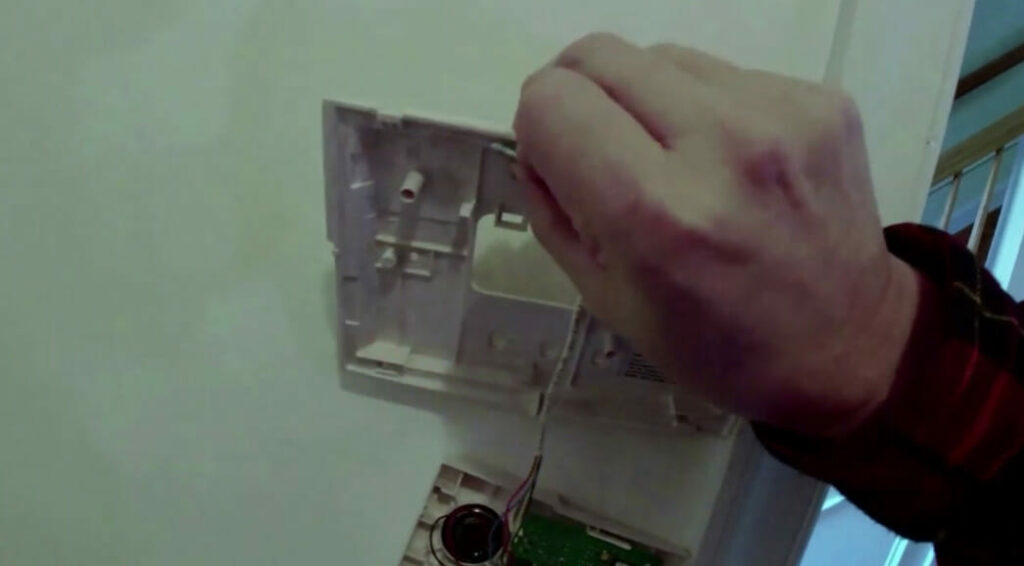
Step 3. Unscrewing and Detaching the Panel
I was ready to remove the panel from the wall with the wires successfully disconnected. I used my screwdriver again to remove the screws holding the keypad.
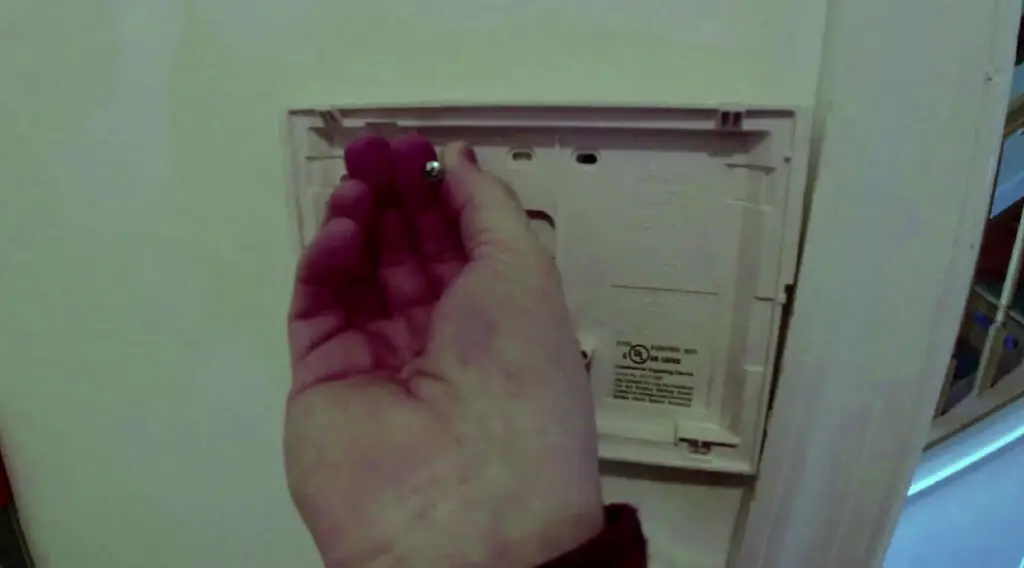
Once the screws were out, I gently pulled the back cover off the wall, taking care not to damage the delicate wires inside.
Step 4. Cleaning and Repairing the Wall
After removing the ADT panel from the wall, it’s time to bring the wall back to its original state. Let me walk you through the process.
Sealant Removal and Cleansing
First, let’s tackle any residual sealant. I like to use a blow dryer or a hot air gun to soften the adhesive. Be careful not to damage your wall by holding the heat source too close or too long in one spot.
Once the sealant is soft, grab a putty knife and gently scrape the softened adhesive away. If you still have trouble removing the sealant, try using a few drops of acetone or WD-40 to help break down the stubborn adhesive.
Always be cautious when using these solvents; work in a well-ventilated area and follow all safety guidelines.
Filling Holes and Touching Up Paint
Now that the sealant is removed let’s fix any holes left by screws or mounts. You’ll need a bit of sealant powder to create a patching compound. Mix the powder with water, following the manufacturer’s instructions.
Applying the compound to the holes using a putty knife, smoothing it out to create a flush surface. Allow the compound to dry.
Once the compound is dry, fine-grit sandpaper can smooth any rough areas. After sanding, cleaning the wall with a damp cloth is important, removing dust and debris.
Finally, it’s time to touch up the paint. Apply a matching paint color to the repaired areas with a small brush. Allow the paint to dry, then step back and admire your handy work!
Remember to keep it brief, so that’s it! Following these steps, your wall should look as good as new, without any trace of the once-present ADT panel. Enjoy your restored wall, and feel free to experiment with these techniques in the future!
Possible Challenges and Solutions
You may encounter several challenges when removing your ADT Panel from the wall. Don’t worry; many obstacles are common and can be effectively addressed.
The following table presents a few potential challenges you might face and offers practical solutions to help you overcome them.
| Challenges | Solution |
|---|---|
| The panel won’t come off | Check for hidden screws or clips that may secure the panel to the wall. |
| Alarm sounds when removing the panel | Ensure the system is disarmed before starting the removal process. If the alarm persists, contact ADT for support. |
| Damaged wires during removal | Take extra caution while removing the panel. If wires are accidentally damaged, consider hiring a professional for repair. |
| Unable to disconnect wiring | Check the ADT manual for specific instructions or contact ADT customer support. Always ensure the power is turned off before handling wires. |
| Removing the panel triggers other house systems (like house lights and other alarms) | This could be due to interconnected systems within your home. If other systems are triggered, you may need to consult with a professional. |
References
Websites:
- ADT Security Services: https://www.adt.com/
- ADT Support Center: https://www.adt.com/customer
Video References
Nick Ford
Scott Maas Media