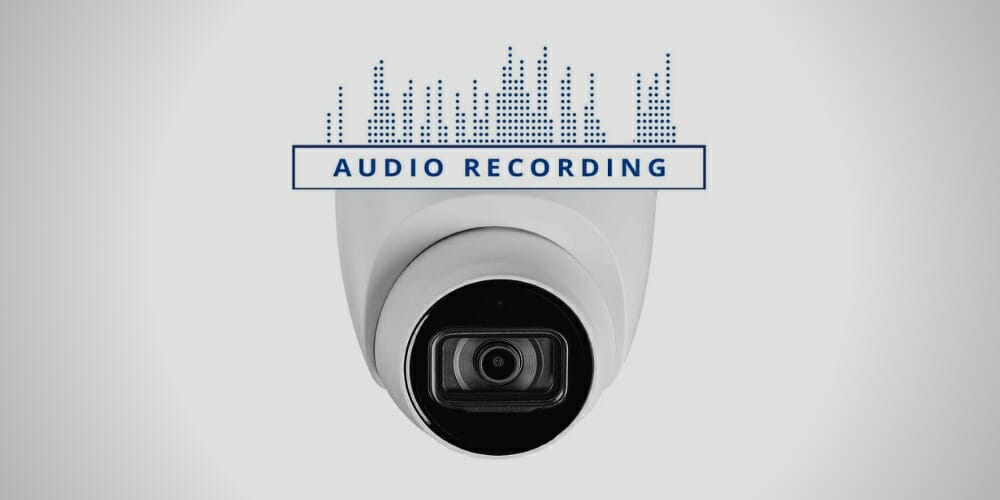
Audio features in your Lorex video surveillance system are a huge value add to convenience and security. Whether it’s a one-way “listen in” capability or a two-way communication application, audio improves the security coverage of your house or business by allowing you to identify and evaluate stored footage with greater accuracy. However, audio sometimes malfunctions and fails to work due to unfortunate events.
In general, when your Lorex’s audio is not working, you could fix it through the following:
- Check that the camera lens’ protective film is removed.
- Make sure the monitor isn’t muted.
- Increase the monitor’s volume.
- Check if the camera is in Full-Screen mode.
- Restore the default settings (Last Resort).
Now, you might be thinking it’s hard to fix, but in reality, it’s not. In this article, let me guide you through fixing your Lorex security camera if its audio is not working.
Lorex Camera Audio Not Working: What to Do?
If your Wireless Home Monitor’s audio isn’t working, check the following:
Fix #1. Make sure that the camera lens is free of any protective film. (1)
Fix #2. Make sure your monitor’s volume isn’t muted. You’ll see a Mute icon on the screen if the volume has been muted.
Fix #3. Increase the monitor’s volume with the volume buttons on the side of your unit. Now, those buttons’ location will vary depending on your Lorex’s model. With that, I recommend referring to your model’s user manual for the exact location of the volume buttons.
Fix #4. When your unit is in Quad mode, then the Audio is disabled. Hence, you must set the camera to Full Screen to enable audio. To set between channels in Full-Screen mode, click the Channel Select icon.
If the audio still doesn’t function after turning up the volume, watching in Full-Screen mode, and everything else I stated above, you should reset the system to factory defaults.
How to Reset Lorex to Default Settings (Last Resort)
To reset/restore the system to default settings, follow these simple steps:
- Click the menu icon on the monitor.
- Using the joystick, select Settings.
- Click the Default Settings.
- Select Yes.
Caution: Any settings that are input on the monitor will be erased if the monitor is reset to default settings. It will be necessary to re-configure your monitor.
Bonus: Enabling Audio to Lorex LNR Series
Audio recording is supported by the LNR Series NVR system when you use audio-capable cameras (not included). To enable audio with a camera, you should first set it up in two ways:
Through the Built-in Microphone
- Connect the camera to one of the NVR’s Ethernet ports with an Ethernet cable.
Note: The microphone must also be powered.
Through External Microphone
- Connect the camera to one of the NVR’s Ethernet ports with an Ethernet cable. (2)
- Then, use a self-powered external microphone to connect your camera.
After connecting your camera in either of those ways, you must activate the audio recording in your NVR menu.
Enable Audio on Your NVR
- In the Live View, right-click to open the Quick Menu.
- Tap Main Menu, then select the Camera icon.
- Choose Recording > Recording.
- Select the Channel drop-down menu to connect the audio-capable camera to a channel.
- If you want to record audio, check the Audio/Video option.
- To choose the format for audio recording, go to the Audio Encode. I recommend the G711a audio format.
- To save your changes, click OK.
Caution: In some jurisdictions, recording or using listen-in audio without approval is prohibited.
Take a look at some of our related articles below.
References
(1) film – https://www.britannica.com/art/motion-picture
(2) Ethernet – https://www.techtarget.com/searchnetworking/definition/Ethernet