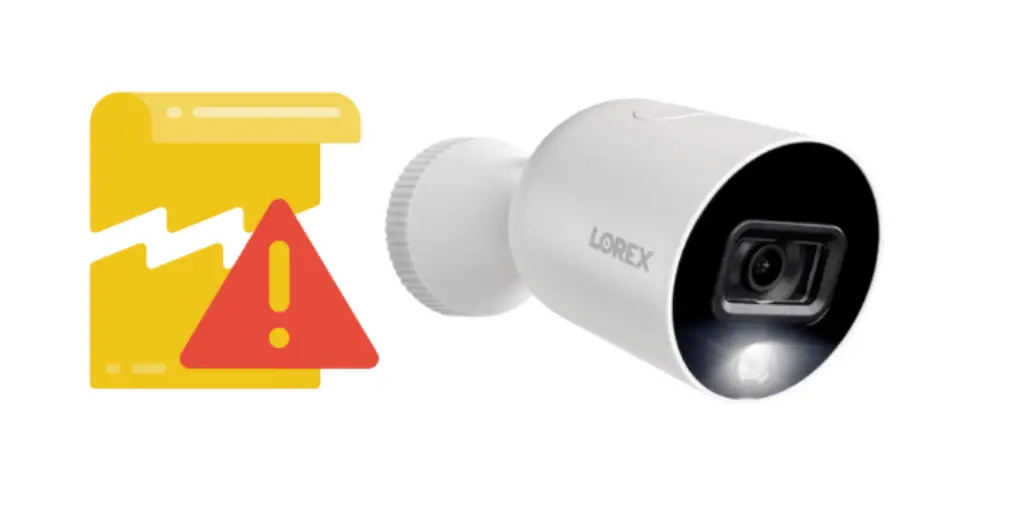
A micro-SD card is a very crucial component of Lorex security cameras. Although it’s just a tiny type of flash memory card, it can store data locally and allow you fast data access. However, like any other data storage medium, an SD card malfunctions and can become corrupted.
In general, when your Lorex device storage is corrupted, you should replace the SD card directly. Here is how to replace the Lorex device storage:
- Unplug the camera. Locate your camera’s memory card
- Gently press the card out of the slot with your fingertip
- Slide the SD card out and insert a new one
- On startup, format the new SD card
Is your SD card corrupted or damaged? Well, don’t worry because in this guide, will talk about fixing your corrupted Lorex device storage.
Signs of a Corrupted Device Storage
Before an SD card quits working, most of them initially show signs of corruption or damage. One of the following indications below could appear:
No SD Card Detected
After inserting your SD card into your Lorex security camera, nothing happens. There will be no sound, no message, and you will be unable to save data to storage because your SD card is not recognized.
Read/Write Issues
When you transfer data to/from your SD card, there are error messages suggesting read/write issues.
Connection Issues
It’s when you insert the SD card numerous times before it eventually mounts appropriately. It happens when your SD card has physical damage or is corrupted.
Slow Performance
Corruption or damage to your SD card might reduce its performance and cause data transfers to take a long time. (1)
Fixing Device Storage Corrupted Lorex
If your SD card has been corrupted, it is best to replace it immediately.
To replace your SD card with a new one, follow these steps:
Step 1: Unplug the camera.
Step 2: Locate your camera’s memory card.
Tips:
- W261AQ Series – you can find its card slot below the lens. Turn the lens up to locate the slot. To avoid damaging the PTZ motor, ensure that the camera is unplugged.
- W261AS Series – its card slot is positioned on the camera’s back.
- W281AA / W282CA Series – its camera’s card slot is placed at the top.
Step 3: Gently press the card out of the slot with your fingertip until you hear a click. (2)
Step 4: Slide the SD card out.
Step 5: Replace the card in the slot with a new compatible one.
Step 6: Reconnect the power supply to your camera.
Step 7: Format the new SD card.
SD Card Formating
Before using your new SD card, you need to format or change the hard drive format first. Formatting it will effectively erase all of its contents. This way, you could prevent your hard drive from malfunctioning or being corrupted. To format it, here are the steps:
- On the Lorex Home app, click Device Settings.
- Scroll down and click Device Storage.
- From the drop-down menu, select Format Storage Device.
- Click OK.
Then, you’re done! Your new Lorex micro-SD card has been successfully formatted and can work effectively. You may also check here for more details on how to format your SD card.
References
(1) data transfers – https://www.computerhope.com/jargon/d/datatran.htm
(2) fingertip – https://www.sciencedirect.com/topics/medicine-and-dentistry/fingertip